Ever wondered why markets suddenly reverse or take off in one direction? It’s all about imbalances between buyers and sellers, and Supply & Demand Zones help you spot these precise areas where institutional traders place their orders.
If you’re tired of unpredictable trades and false breakouts, understanding this concept is crucial.
Let’s dive in 👇
---
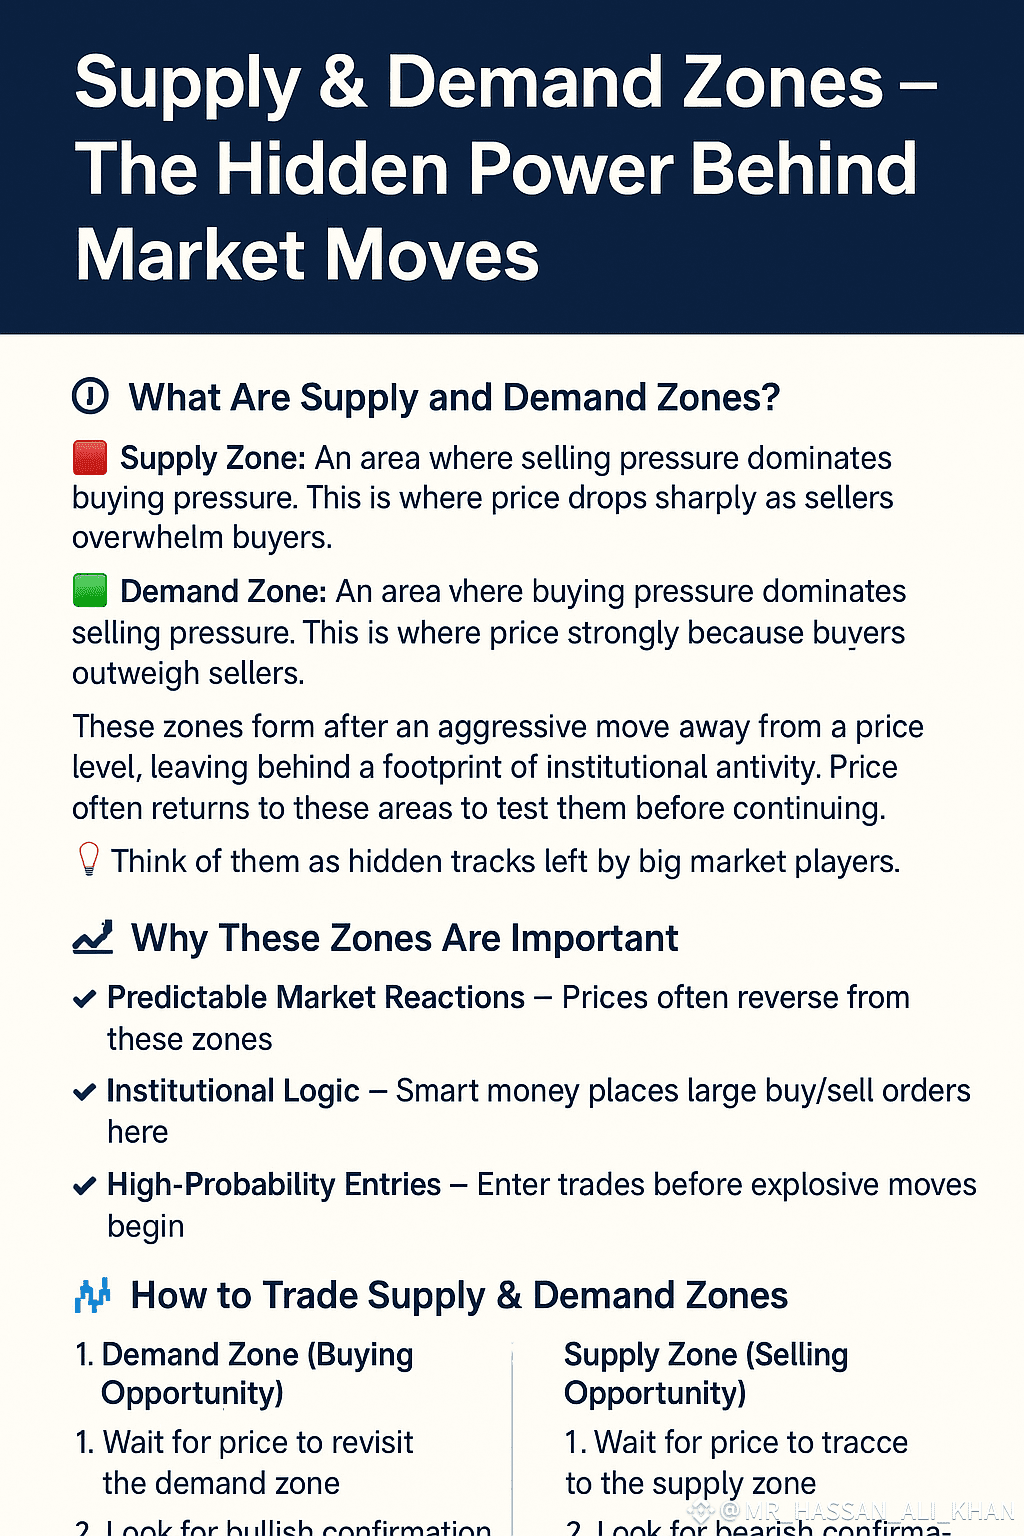
🔍 What Are Supply and Demand Zones?
🟥 Supply Zone:
An area where selling pressure dominates buying pressure. This is where price drops sharply as sellers overwhelm buyers.
🟩 Demand Zone:
An area where buying pressure dominates selling pressure. This is where price rises strongly because buyers outweigh sellers.
These zones form after an aggressive move away from a price level, leaving behind a footprint of institutional activity. Price often returns to these areas to test them before continuing its move.
💡 Think of them as hidden tracks left by big market players.
---
📊 How to Identify Supply & Demand Zones
Demand Zone Setup (Buy Zone):
1. Price declines
2. Forms a base (2–3 candles of sideways consolidation)
3. Sharp bullish move upwards (strong green candles)
→ That base area becomes your Demand Zone
Supply Zone Setup (Sell Zone):
1. Price rises
2. Forms a base
3. Sharp bearish move downwards
→ That base area becomes your Supply Zone
---
🧠 Why These Zones Are Important
✅ Predictable Market Reactions – Prices often reverse from these zones
✅ Institutional Logic – Smart money places large buy/sell orders here
✅ High-Probability Entries – Enter trades before explosive moves begin
✅ Clear Risk Management – Easy to place tight stop-loss levels
---
📈 How to Trade Supply & Demand Zones
For a Demand Zone (Buying Opportunity):
1. Wait for price to revisit the demand zone
2. Look for bullish confirmation (e.g., wick rejections, bullish engulfing candles)
3. Enter the trade
4. Place your stop-loss just below the zone
5. Target recent highs or the next supply zone
For a Supply Zone (Selling Opportunity):
1. Wait for price to retrace to the supply zone
2. Look for bearish confirmations (e.g., bearish engulfing, rejections)
3. Enter a short position
4. Stop-loss just above the zone
5. Target the next demand zone or recent lows
---
🧩 Pro Tips for Success
💡 Combine zones with Order Blocks or Fair Value Gaps
💡 Higher timeframe zones (H1, H4) are stronger and more reliable
💡 The more a zone is tested, the weaker it becomes
💡 Best zones form after a period of consolidation followed by a strong breakout
---
🧠 Final Takeaway
Supply & Demand Zones reveal where smart money enters and exits the market. If you want to trade like professionals, reduce fakeouts, and catch moves before they happen:
✅ Identify these zones
✅ Align with institutional footprints
✅ Trade with confidence and precision